 Before
 After
AfterIt is a pretty easy way to alter black and whites in just a few steps...
Step 1: In photoshop, click on the half black half white circle at the bottom right of the screen then flatten the image
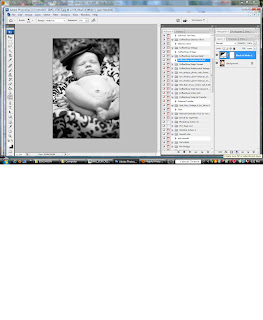
Step 2: Add some curves by clicking CTRL + M adjust the levels to your taste for that particular picture
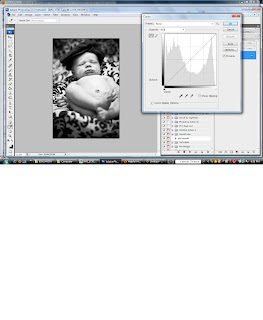
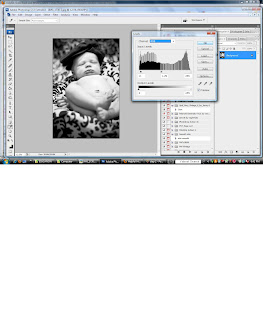
Step 3: Adjust the levels: Move the slider on the left to add more darkness to your darks, the slider on the right makes things lighter, and the middle changes midtones...
Step 4: Add a little brightness, don't adjust the contrast here, another step will do that later...be careful not to blow out your whites
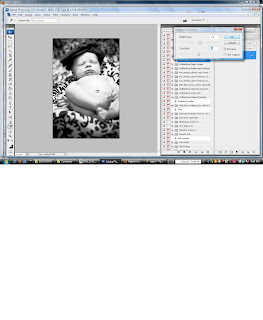
Step 5: Now add some contrast: Duplicate your layer and change the type of layer to "soft light" Reduce the Opacity to very low if you dont it is a pretty ugly picture ;)
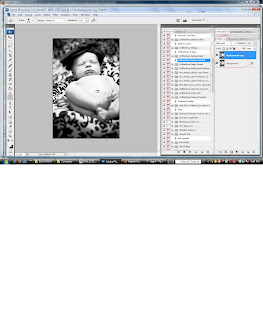
Step 6: Selective Color Layer: go to Image at the top of the screen--->Adjustments---->Selective Color
At the top change it to Blacks then adjust the levels for the blacks usually side it to the right
Then change it to neutrals--again slide the blacks bar to the right
Then change it to whites--this time slide the blacks bar to the left
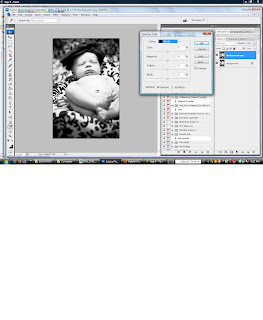
This could then be further edited to get rid of some of the shadows, noise, etc to make it a little better but anyways tada!

Pretty easy right? I got this information from someone elses blog and thought I would pass it along, I always hated how gray the black and white pictures turn out without doing all these adjustments!
Happy editing!
2 comments:
Nice job on the tutorial Kiely! I didn't mean to stomp right over your post again. I feel like I keep stealing your thunder!
hahah its ok, I was trying to get it up before you! woah...um yeah get the post posted before you...
Post a Comment