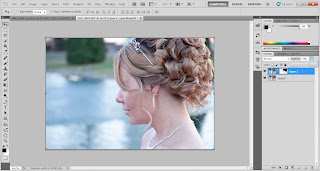
Step 1 - Open your file and duplicate the layer.
Step 2 - Go to Filter>Blur>Surface Blur. Set the Radius to 12. Set the Threshold to 20. (General starting point. You can adjust them to how you see fit.) Click ok. You'll see that it blurs the skin, the hair, and the jewelry. We're going to fix this, stay with me.
Step 3 - On your layers panel, Add a layer mask. Make sure your fill color is black, and select the brush tool.
Step 4 - Start painting with the brush tool on the areas you want to remain in focus. (i.e., hair, eyes, lips, jewelry.) Hint - You can adjust the brush tool on the fly with your bracket keys on your keyboard. Also, click the forward backlash button to see what you've painted in transparent red. (I hit this by accident the other day and discovered it.)
For this photo, these are the areas I want to remain in focus.
Tap the forward backslash button on your keyboard once more and the red goes away, leaving what you painted with brush in focus. Now, hang on...it's not quite done. This is what may set your photos apart from the overkill Cosmo look.
Step 5 - On your duplicated/layer mask layer, take the opacity down to somewhere between 60%-80%. This will bring back some of the skin's original features, but not too much. You end up with a soft, beautiful skin that's not too overly-edited.
Flatten your image, and you're done. Apply other effects if you want. Stand on your head. Profit. Do what feels right.


